Java Installation and Environment Setup Step by Step
Java Installation & Environment Setup
Before writing and running any Java program, Java must be properly installed and configured on your system. A correct installation ensures that Java programs compile without errors and execute reliably across different environments. This post explains Java installation and environment setup step by step, covering Windows, macOS, and Linux, with clear explanations of why each step is required.
What Needs to Be Installed for Java
To work with Java, you must install the Java Development Kit (JDK).
The JDK includes:
- Java compiler (
javac) - Java runtime (
java) - Required development tools
Installing only JRE is not sufficient for development.
Checking If Java Is Already Installed
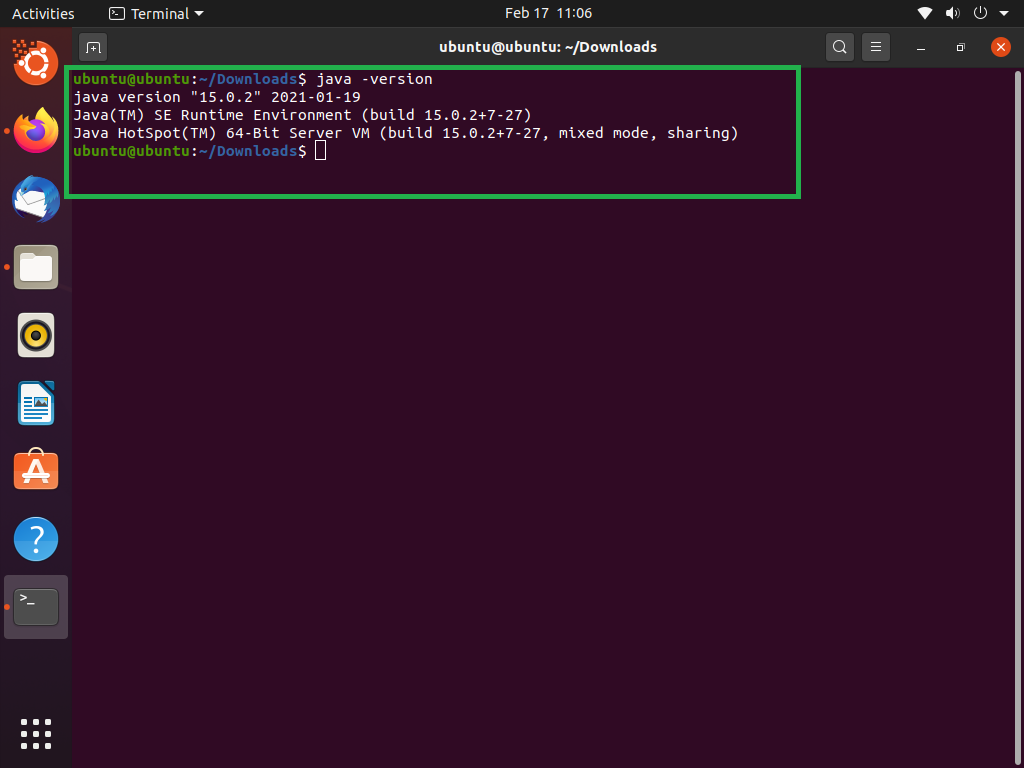
Before installing Java, check whether it is already available on your system.
Command
java -version
If Java is installed, the command will display the installed Java version.
If not, the system will indicate that Java is not recognized.
Downloading the JDK
Java should always be installed from an official and trusted source.
Key points:
- Download the latest Long-Term Support (LTS) version
- Choose the installer according to your operating system
- Avoid third-party bundled installers
Java Installation on Windows
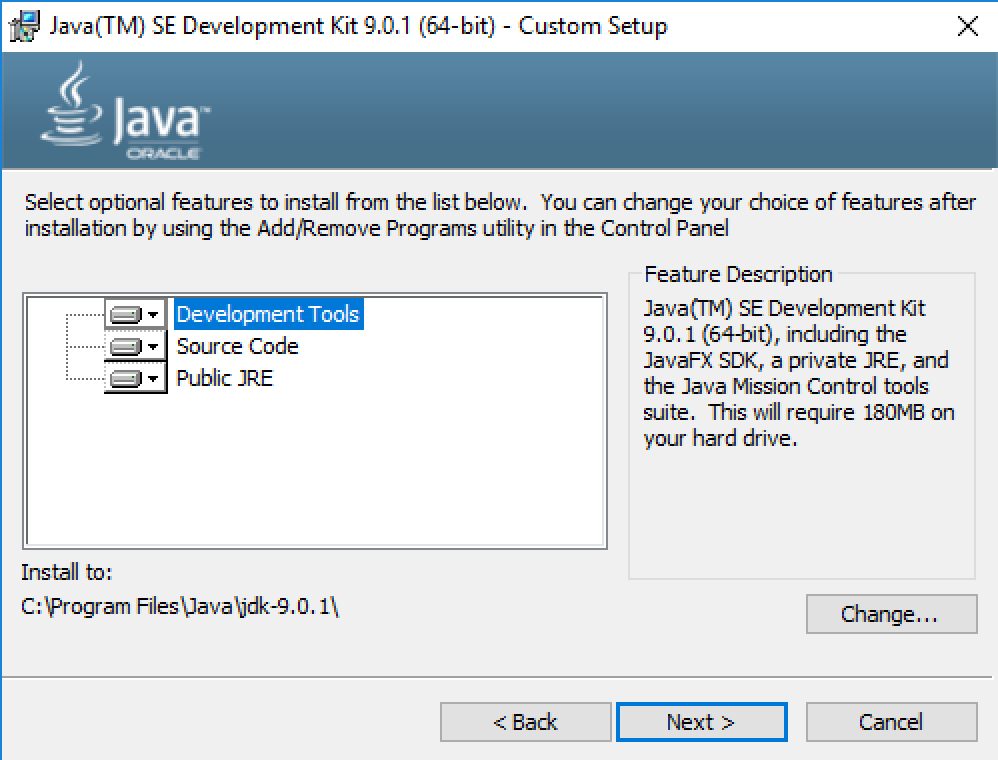
Step-by-step installation
- Download the Windows JDK installer (
.exe) - Run the installer
- Follow the installation wizard
- Choose the default installation path (recommended)
- Complete the installation
Once installed, Java binaries are placed inside the JDK directory.
Setting Environment Variables on Windows
Environment variables allow the system to locate Java tools from any directory.
Required variables
JAVA_HOMEPATH
Steps
- Open System Properties
- Go to Environment Variables
- Add a new system variable:
- Name:
JAVA_HOME - Value: JDK installation path
- Name:
- Edit the
Pathvariable and add:%JAVA_HOME%\bin
Restart the terminal after setting variables.
Java Installation on macOS
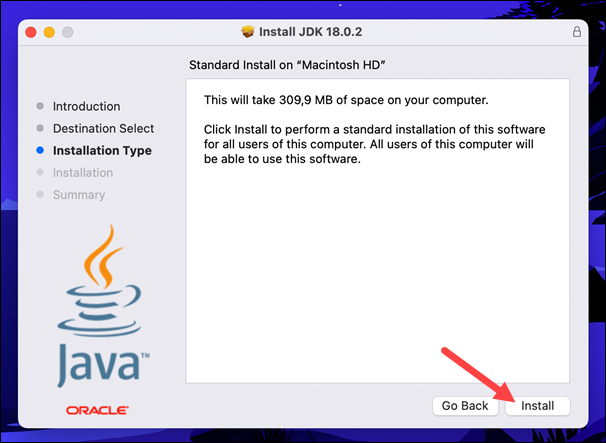
Installation steps
- Download the macOS JDK installer (
.dmg) - Run the installer package
- Complete the setup using default options
macOS installs Java in a standard directory automatically.
Setting Environment Variables on macOS
macOS uses shell configuration files.
Command
nano ~/.zshrc
Add:
export JAVA_HOME=$(/usr/libexec/java_home)
export PATH=$JAVA_HOME/bin:$PATH
Save the file and reload:
source ~/.zshrc
Java Installation on Linux
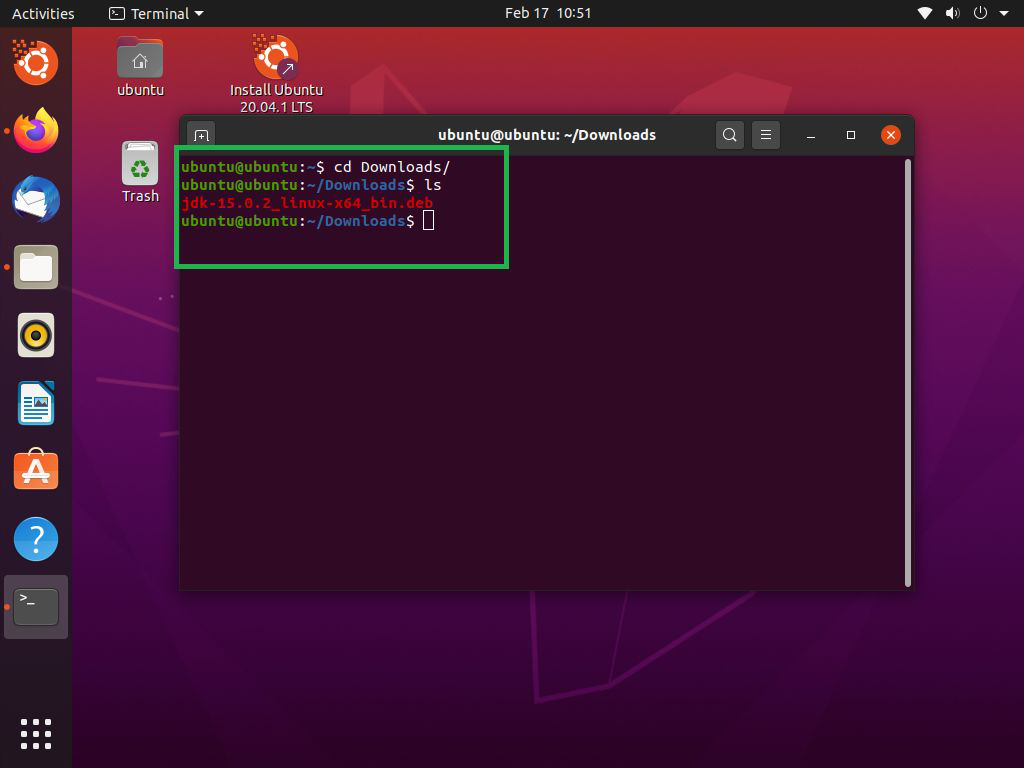
Using package manager (recommended)
sudo apt update
sudo apt install openjdk-17-jdk
Verify installation
java -version
Setting Environment Variables on Linux
Edit the profile file:
nano ~/.bashrc
Add:
export JAVA_HOME=/usr/lib/jvm/java-17-openjdk-amd64
export PATH=$JAVA_HOME/bin:$PATH
Reload the file:
source ~/.bashrc
Verifying Java Installation (All OS)
After installation and setup, verify Java:
java -version
javac -version
Both commands should return version information.
Writing and Running First Java Program
Create a file
class TestJava {
    public static void main(String[] args) {
        System.out.println("Java setup successful");
    }
}
Compile
javac TestJava.java
Run
java TestJava
Output:
Java setup successful
Common Installation Issues and Fixes
Java not recognized
- PATH not set correctly
- Terminal not restarted
Multiple Java versions
- JAVA_HOME pointing to wrong version
- Remove older versions or update variable
Permission issues (Linux/macOS)
- Use correct user privileges
- Check file permissions
Why Environment Setup Matters
Correct environment setup ensures:
- Java commands work globally
- Build tools work correctly
- IDEs detect Java automatically
- Deployment environments behave consistently
Incorrect setup leads to compilation failures and runtime errors.
Conclusion
Java installation and environment setup is the foundation of Java development. Installing the correct JDK version and configuring environment variables ensures smooth compilation and execution of Java programs. Once Java is set up properly, developers can focus entirely on writing and maintaining reliable Java applications without system-level issues.